Refurbishing a 1930s stained glass window
Refurbishing a 1930s stained glass window
This post contains affiliate links. Read our disclosure policy here.
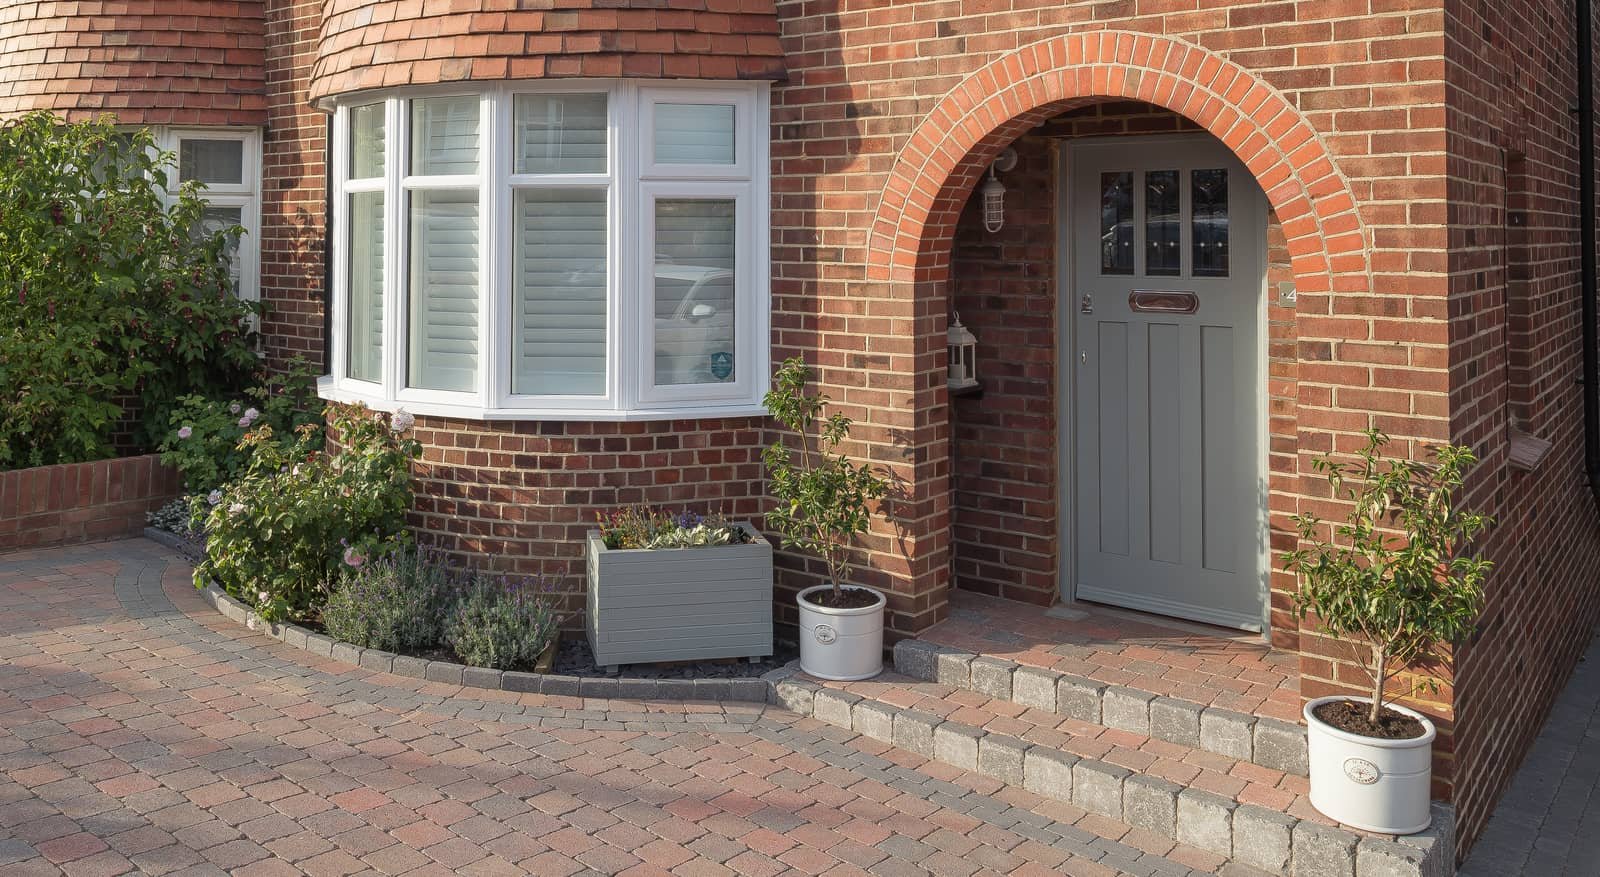
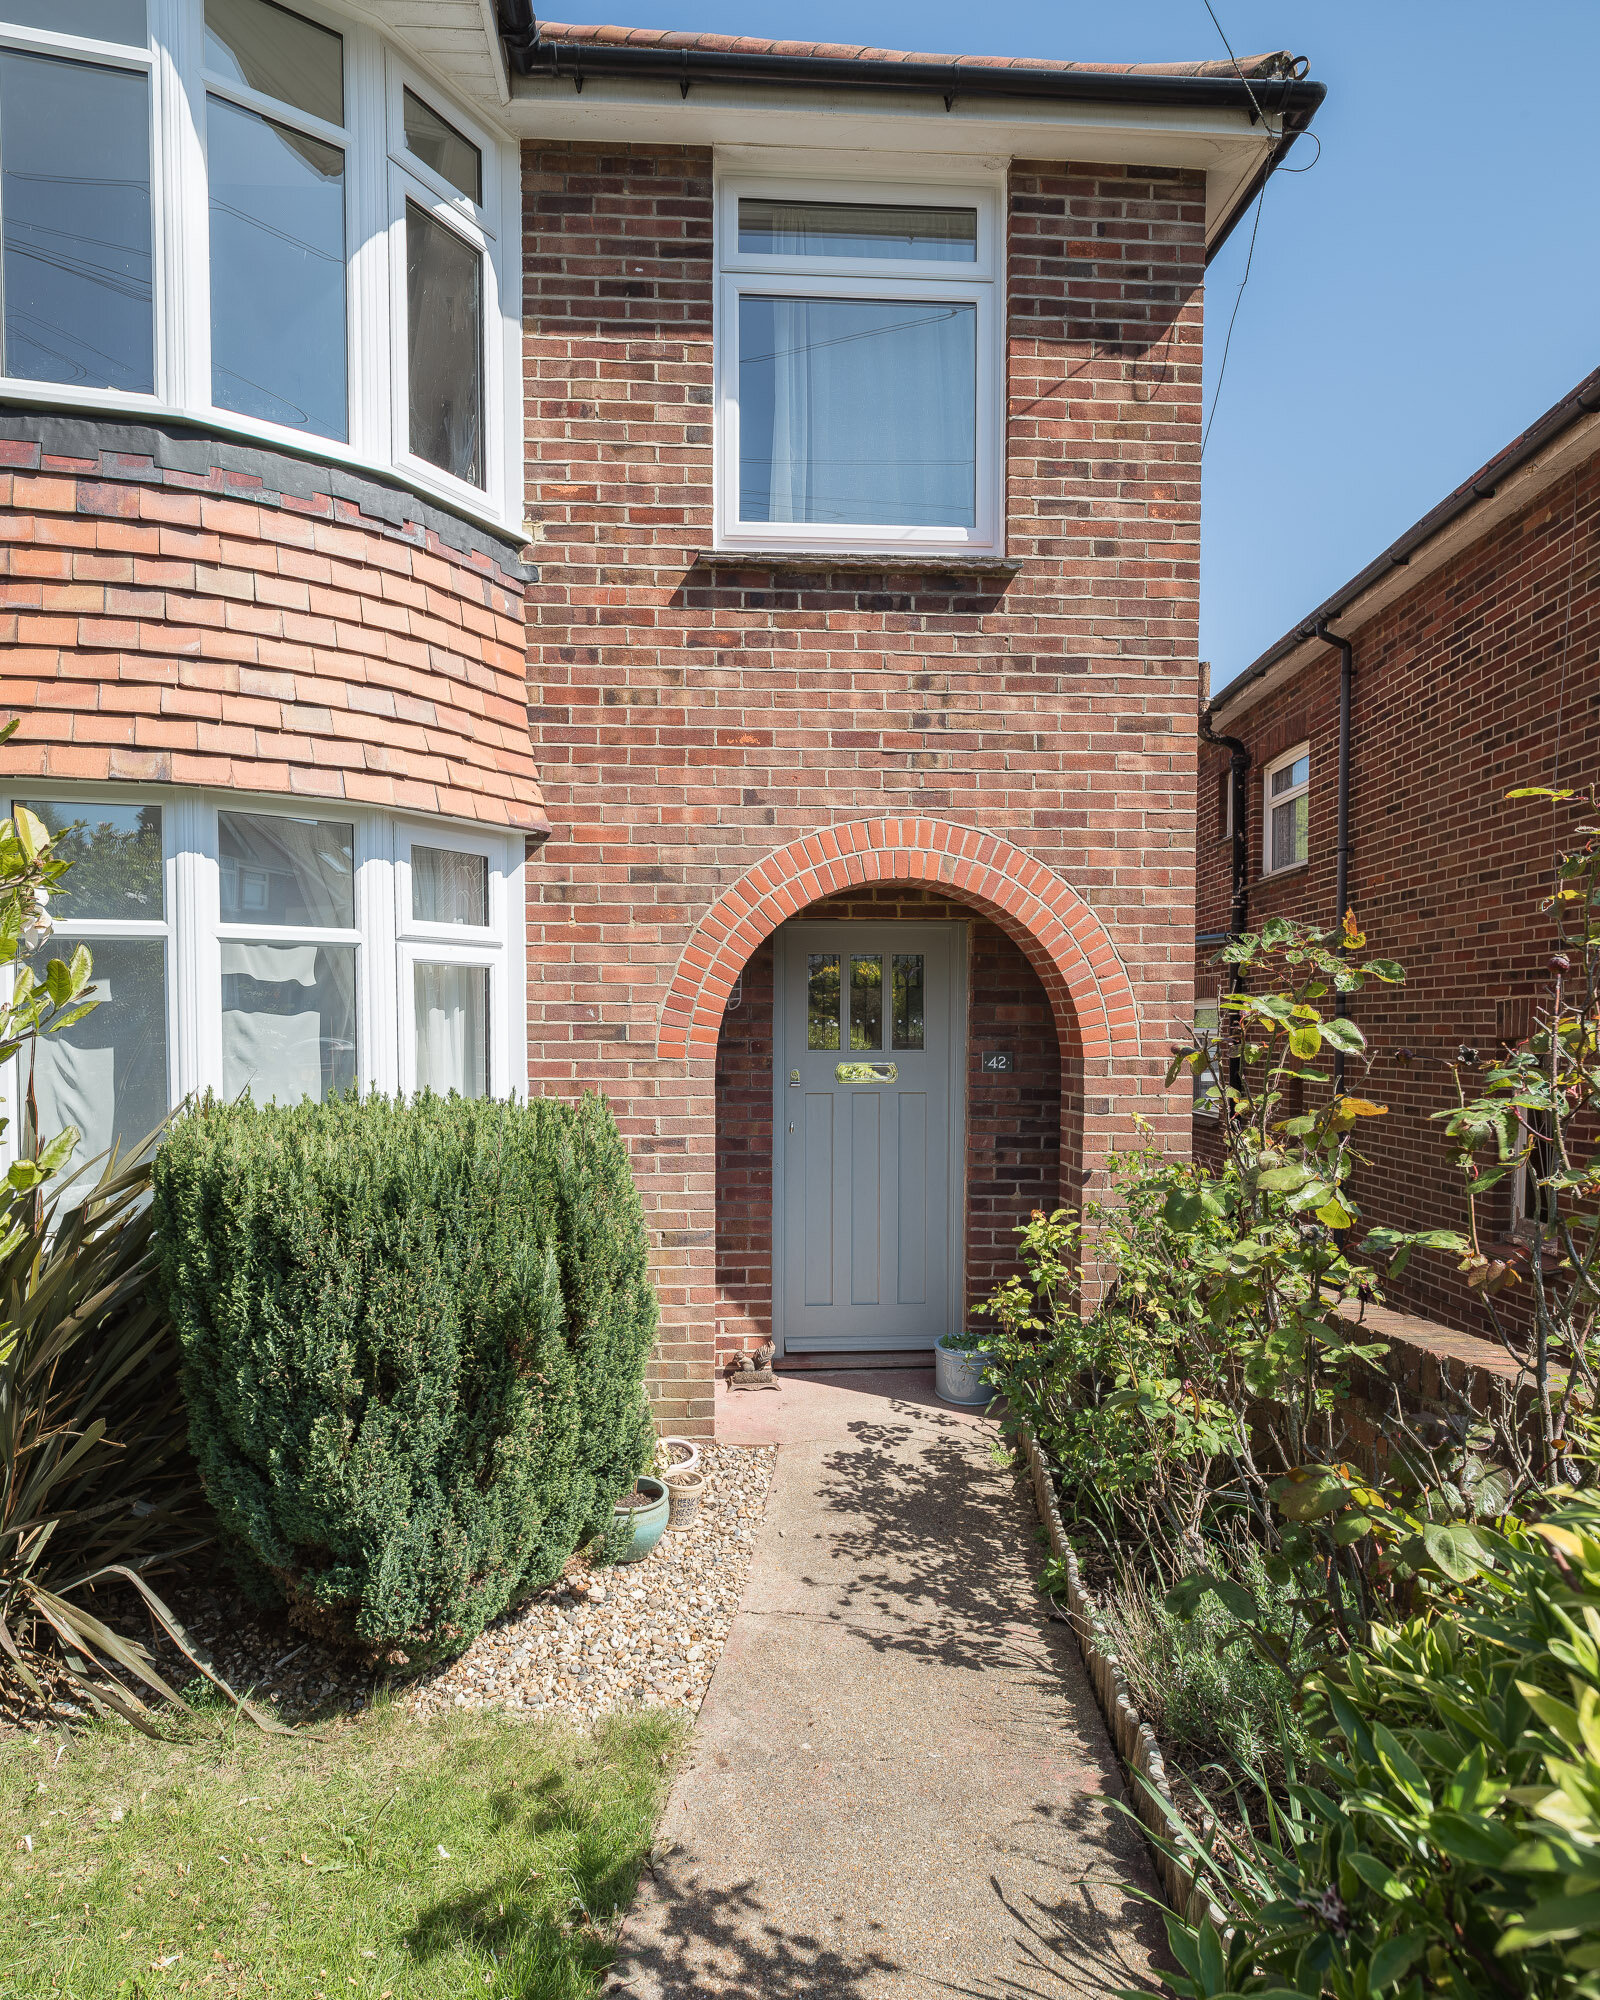
We love our 1930s house and the little external-facing features that makes this period property so unique…
The red brick, the gable, the classic 1930s curves, and of course the stained glass windows.
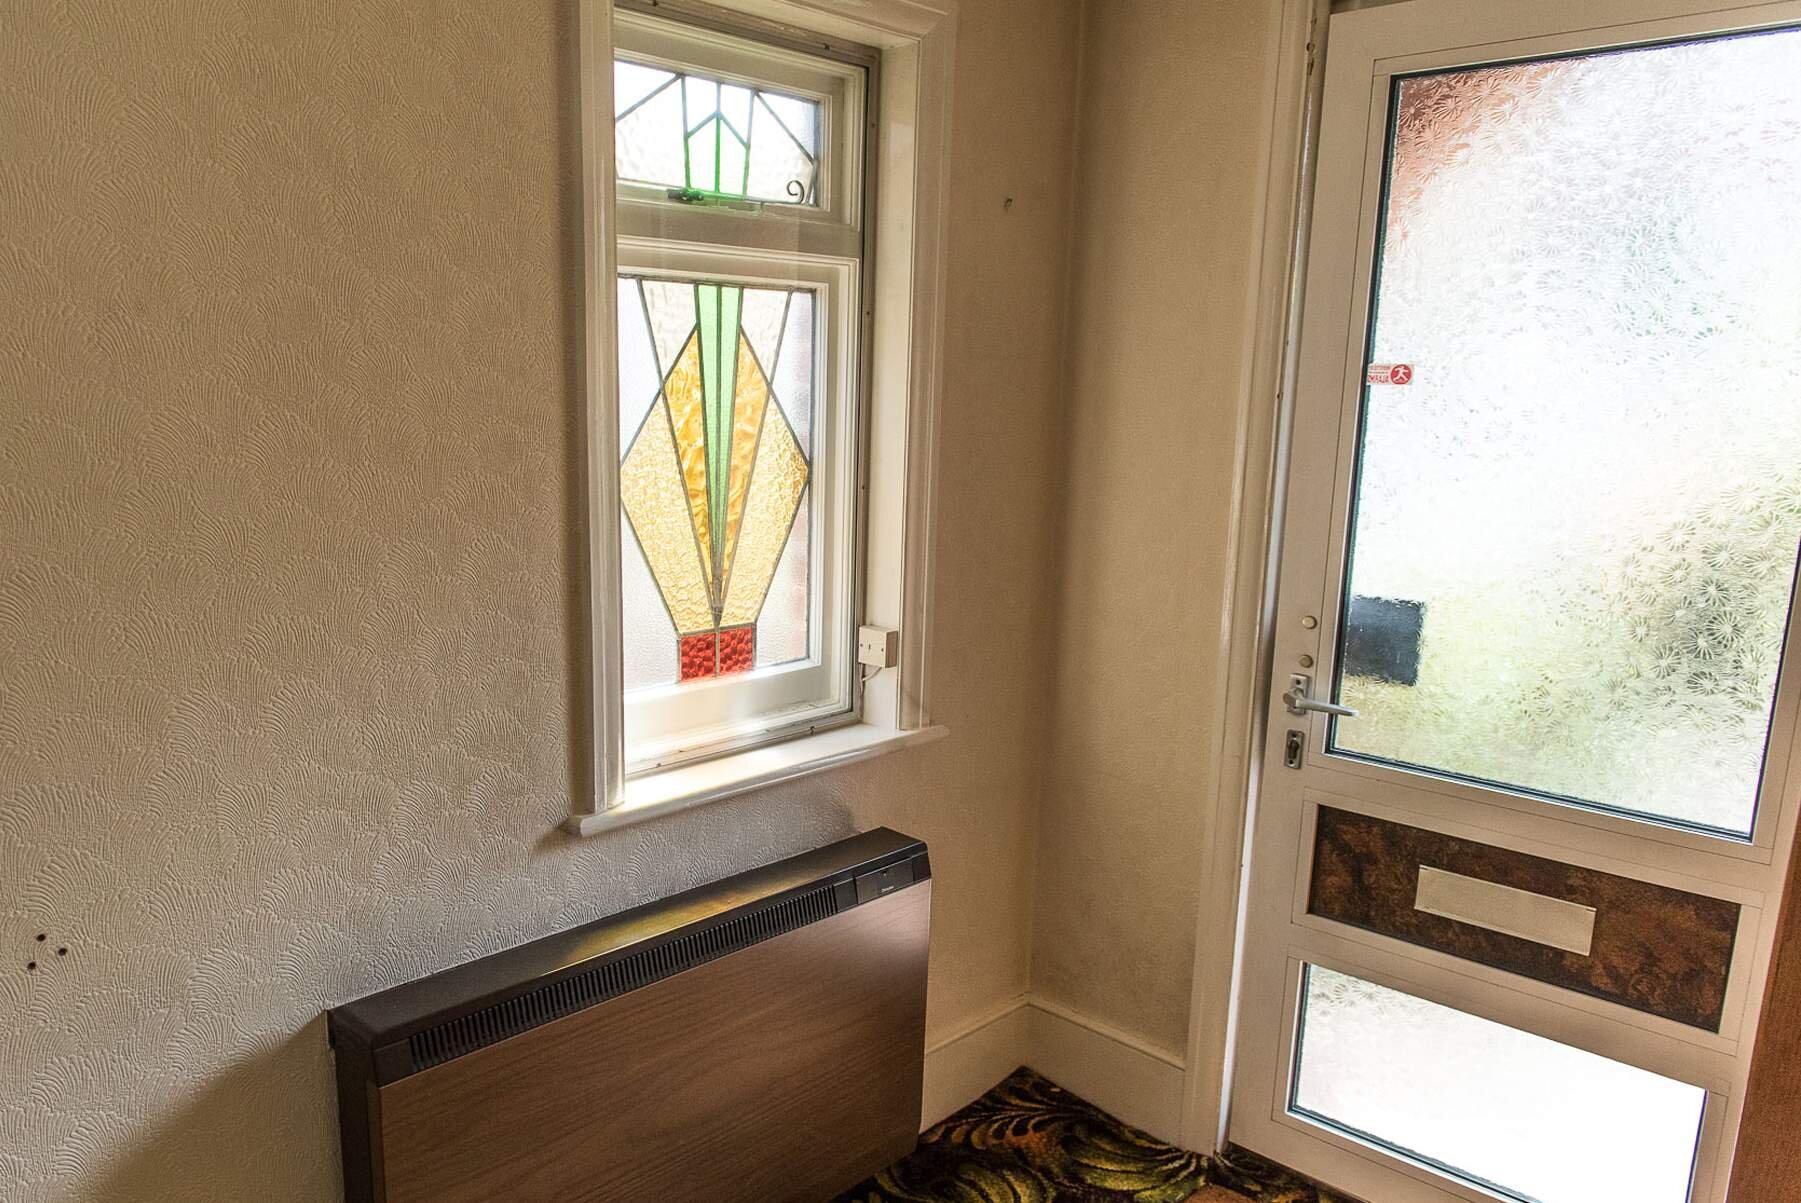
Many 1930s houses have stained glass windows on the front and/or on the side and we have been in awe of some stunning designs on other houses that make ours look very modest indeed. That aside, we still love our little side window as it adds a ‘just enough’ element of interest to our hallway, a little detail from decades long ago.

However, it wasn’t always love at first sight.
When we moved in, it was hard to love much of anything in our house, especially when you’ve got a blazing ‘dumpster fire’ (as our American friends put it) of a carpet festering in your hallway, the last thing you really fancied was to spend time admiring the hallway scenery.
After the internal renovation of this area, it’s amazing to see how the enhancement of the features around it brought the window to life:


On the outside, well it was definitely not something that was enhancing the kerb-appeal exactly:


That SINKING feeling when you think all is lost
You know those jobs that you just never get round to? Well after spending 4 years looking at it, having a bit more time during the lock-down and with the bedroom renovation being on pause, there was simply no more excuses. It was time to get to work.
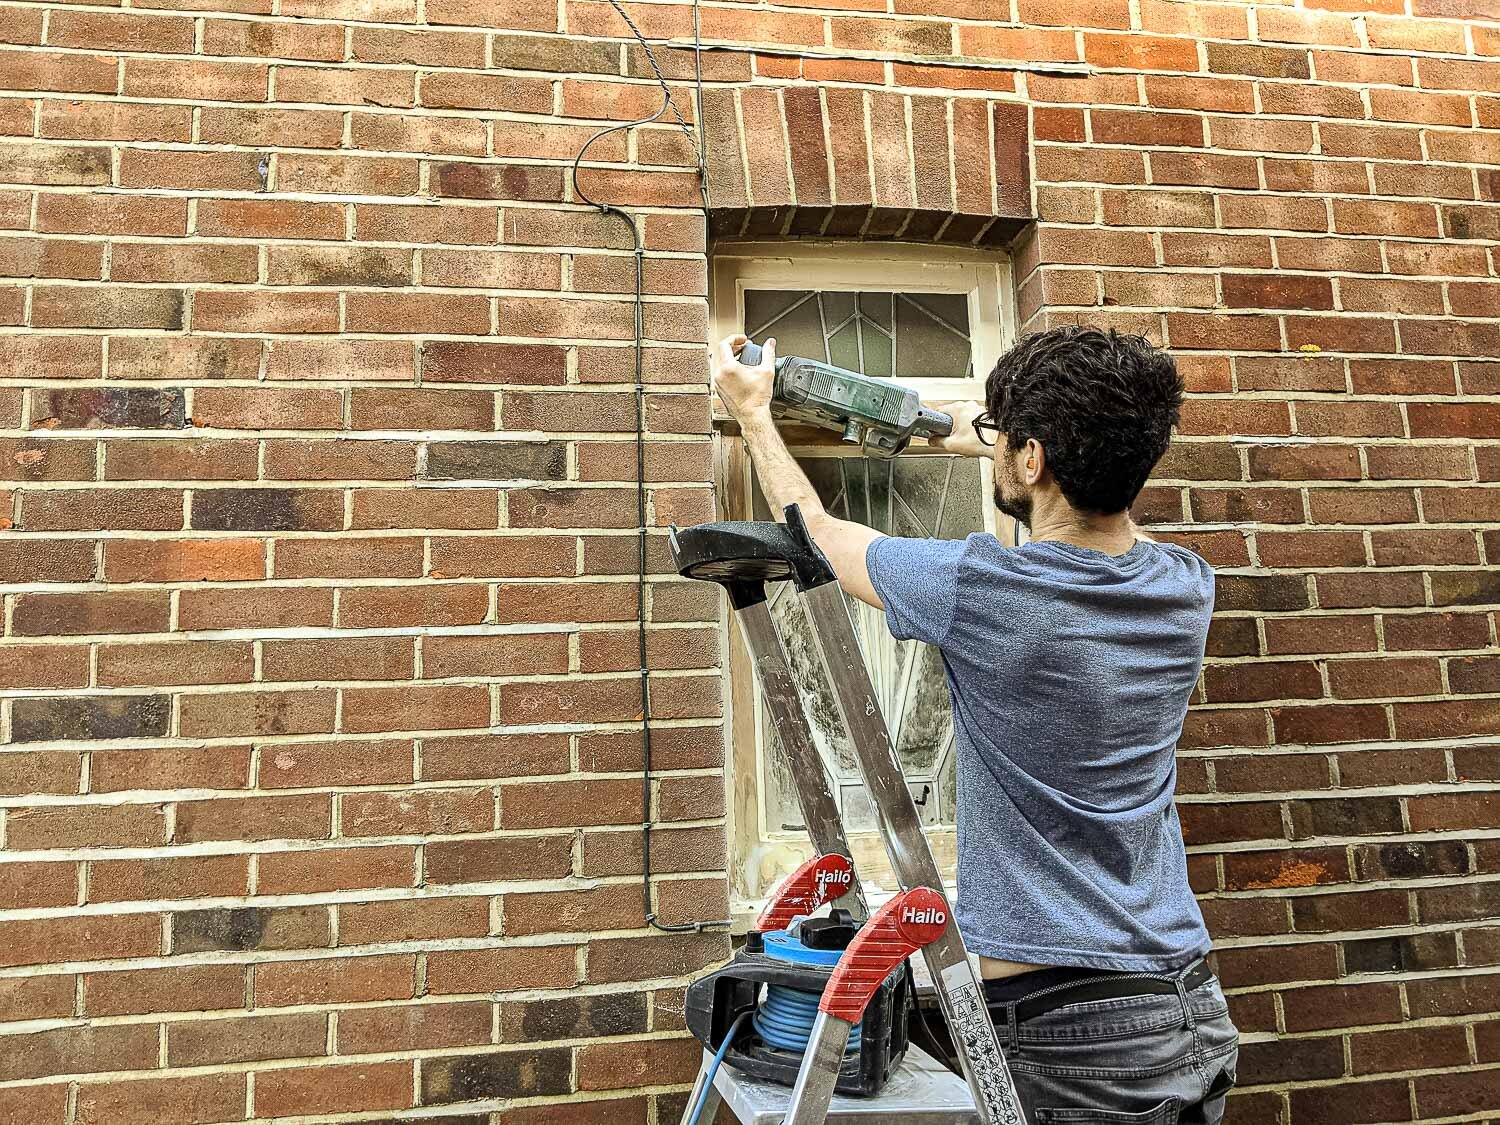
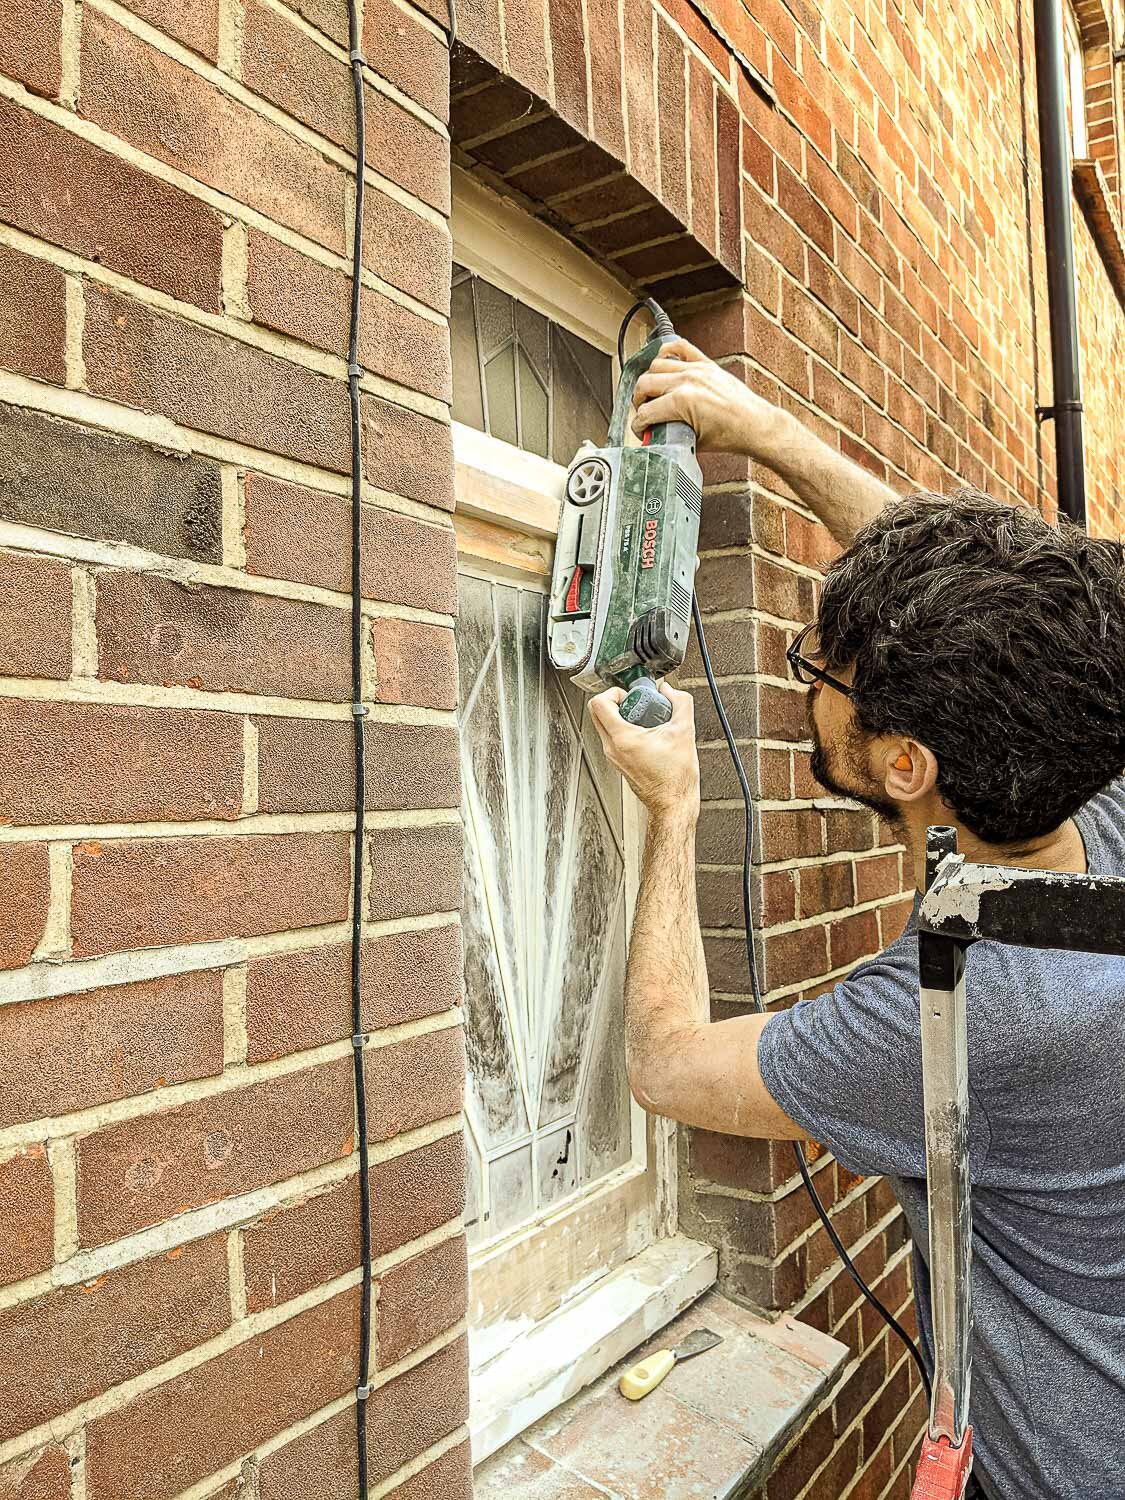
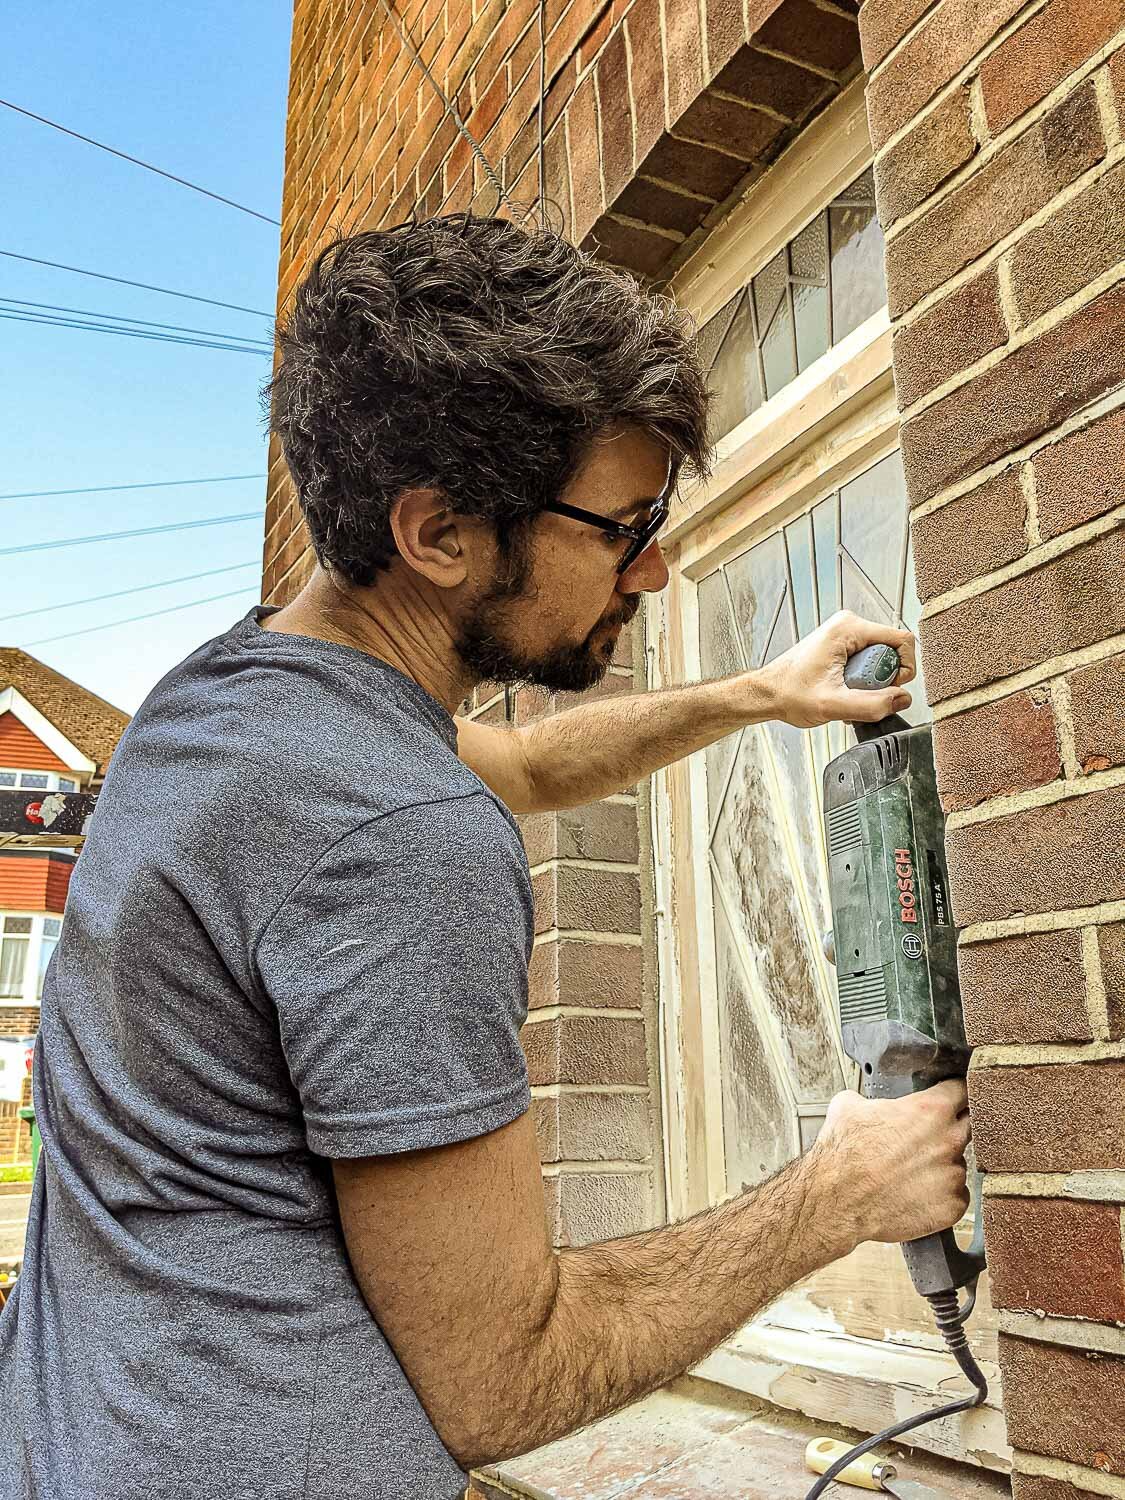
Sanding with the heavy duty Bosch belt sander
First came the scraping sanding down the peeling paint. Although a bit tricky in tight spaces, this amazing Bosch belt sander gets the job done in double-quick time. I recommend it for any projects where you need to strip back to bare wood.
It takes off layers of paint really quickly. If you have the right tools - the job is always easier.

Scraping out rotten wood


This was where there were, to be honest, a few “oh shit” moments. A couple of pieces of wood that were holding in the stained glass on the side and bottom had broken/rotted away in a few places and so I had to scrape all of that out - I wondered how stable the glass now was….
Filling the holes
I think I’m a bit of a Ronseal High Performance filler fan boy. I’ve been using this filler throughout our renovation and I’ve always been amazed how quickly it dries (around 30 mins), how tough it gets, and how easy it is to work with; sanding down to a really smooth finish.
It can be used inside and out and so this was a no-brainer for this job.
Top tip - work in small areas with this filler because this dries so quickly that you might find it drying up whilst you use it

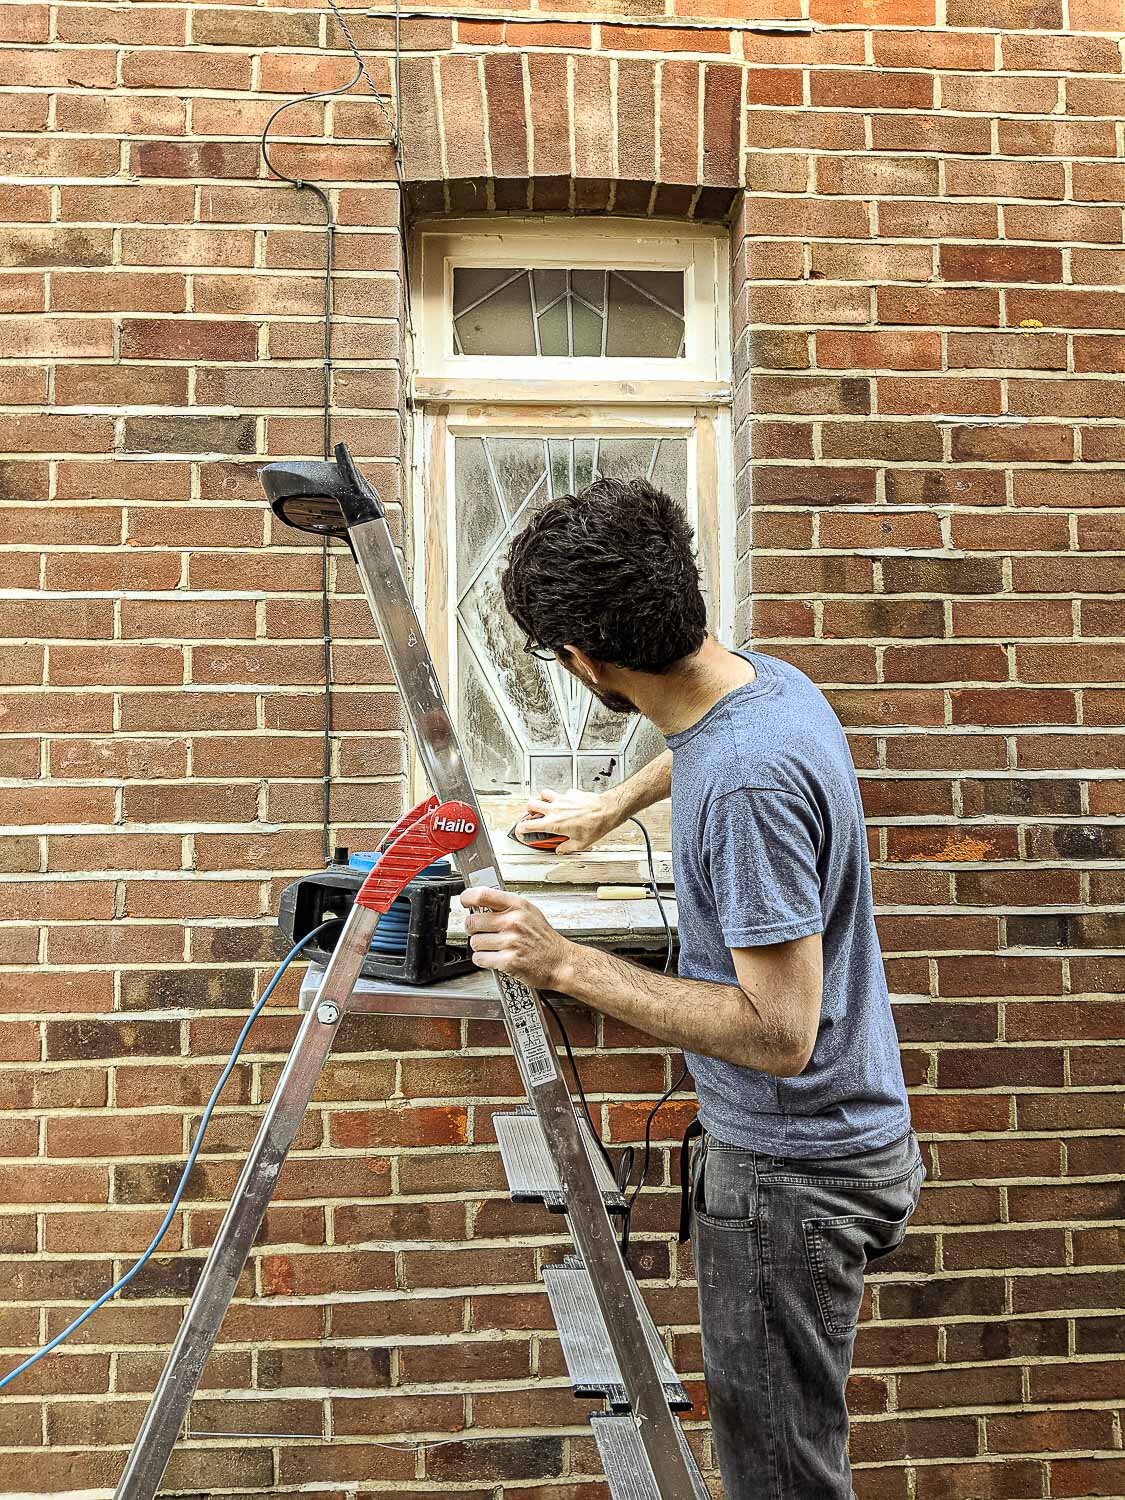
Mouse sander for finishing touches
The Bosch sander is great for the bigger job of getting the paint off, but you can’t beat a Black and Decker Mouse sander for those hard to reach areas when you’ve done your filling. We recently had to purchase a new one because Fi somehow managed to blow the last one up when she was sanding the wall!
Painting
I used some external wood primer/undercoat and then put on some good old Dulux Weathercoat in a White Satin finish. We weren’t that particular about the colour - we just wanted to go for classic white to suit the other windows on the house.
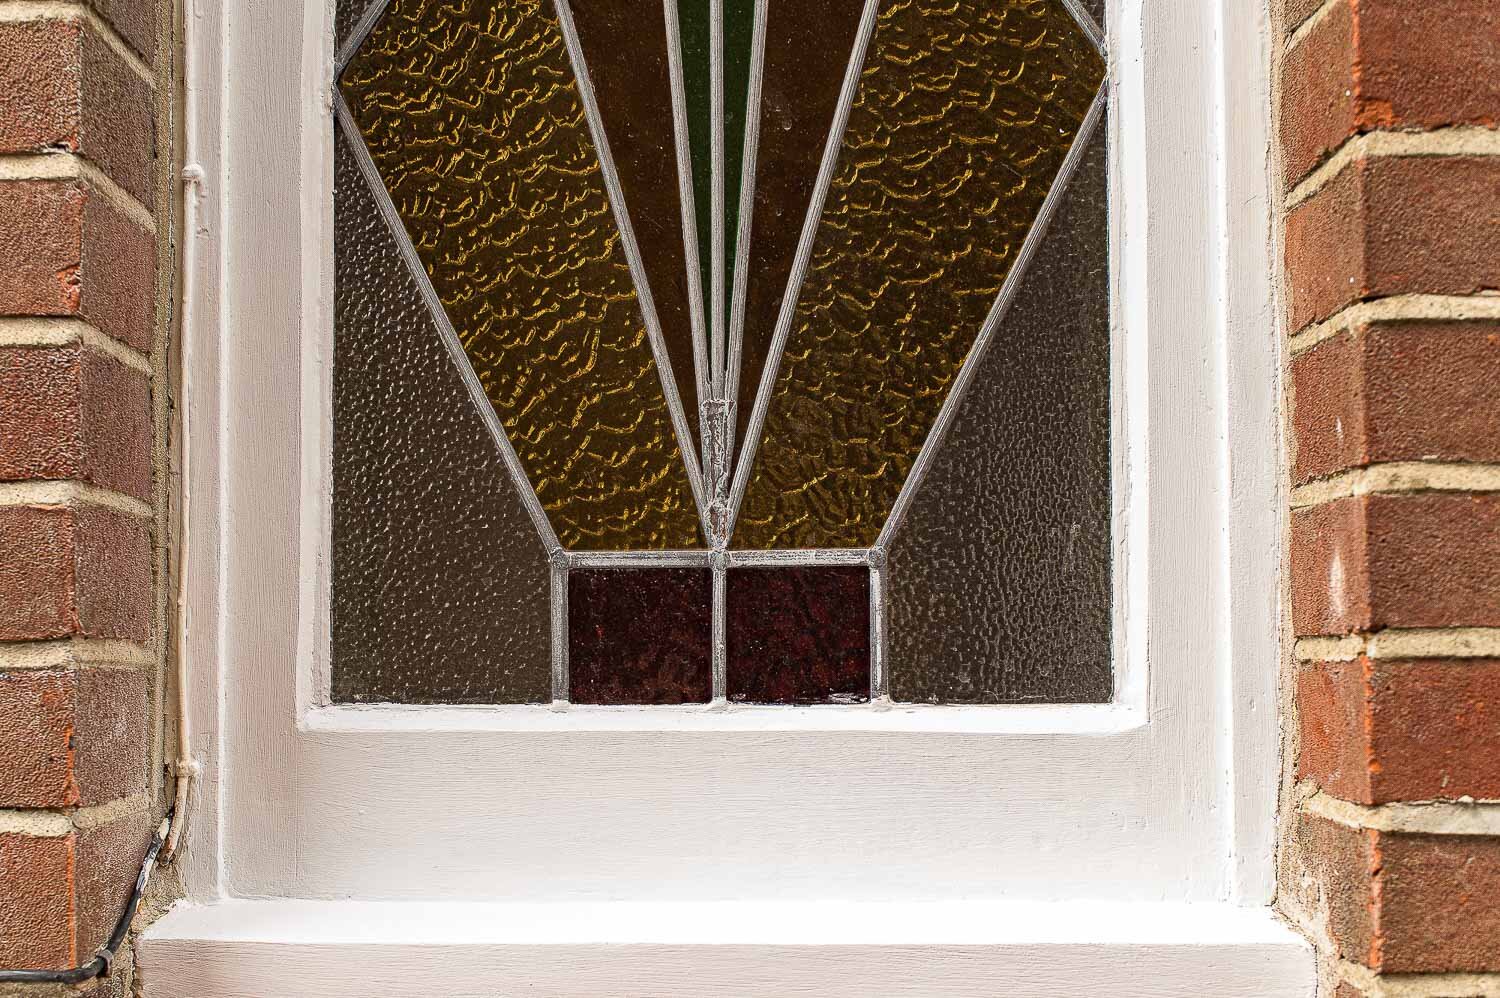
This is the result, with some before and after for good measure, we think it looks pretty good, what do you think?
It’s pretty satisfying how a day’s work has led to adding a little bit of much needed polish to the outside of our house.



Thanks for reading! If you’d like to see more of our 1930s house renovation, visit this page.
Co-Founder & Renovator
Specialising in high quality & affordable renovations

